
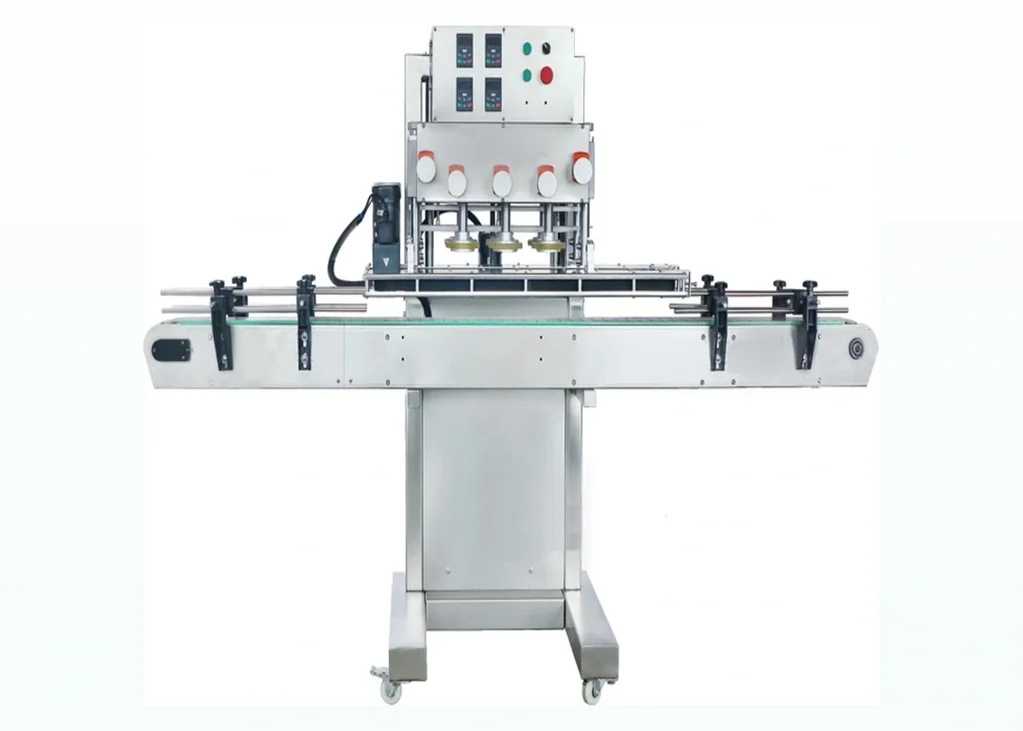
Capping machine troubleshooting: common issues to check
Poor capping results are not always caused by the capping machine. The cap, bottle, product, feeding method and line handling can all affect the finished pack.
Ask about this application →Poor capping results are not always caused by the capping machine. The cap, bottle, product, feeding method and line handling can all affect the finished pack.
Lancing can help shortlist practical capping machinery after reviewing cap type, neck finish, bottle stability, output target, torque requirement and the way caps are presented to the machine.

Poor capping results are not always caused by the capping machine. The cap, bottle, product, feeding method and line handling can all affect the finished pack.
Ask about this application →Check cap torque, liner condition, neck finish, filling contamination around the neck, cap seating and whether the bottle is stable during tightening.
Look for bottle rotation, worn tooling, incorrect chuck fit, cap variation, unstable guides, operator placement differences and incorrect machine settings.
Jams and misfeeds often come from cap geometry, orientation, static, damaged caps, bowl settings, overfilling the feeder or trying to feed a closure that needs specialist handling.
Photos, dimensions and target output help identify the most likely capping route. Physical samples are normally the best way to confirm tooling, cap feeding and bottle support.
Cross-threading can be caused by poor cap presentation, bottle misalignment, thread variation, cap damage or the capper engaging before the cap is correctly seated.
Bottles can spin if side belts, clamps, nests or guides are not supporting the container well enough for the required torque.
Lancing can review samples, photos and line details to help identify whether the issue is machine setup, tooling, cap feed or packaging compatibility.
Repeated adjustment can hide the real cause of a capping fault. Record the symptom, isolate when it occurs and compare good and failed packs before changing tooling or torque. The same visible defect can originate in several parts of the process.
| Symptom | Evidence to inspect first | Do not assume |
|---|---|---|
| Cross-threaded or tilted cap | Cap presentation, thread start, bottle centring, vertical alignment and whether the cap was square before tightening. | That increasing torque will pull the closure into the correct thread. |
| Loose cap after discharge | Application setting, chuck or spindle grip, liner relaxation, bottle rotation and elapsed time before testing. | That a single immediate removal-torque result represents the packed product. |
| Leaking pack | Neck and liner condition, sealing surface, product residue, cap compatibility, cracks and process temperature. | That more tightening is safe or will correct a mismatched pack. |
| Marked or damaged closure | Tooling fit, contact pressure, worn inserts, cap geometry and debris on contact surfaces. | That cosmetic damage is unavoidable at the required output. |
| Frequent cap-feeder jams | Cap variation, orientation behaviour, track settings, contamination, refill method and feed demand. | That the capping head speed is the only production constraint. |
| Intermittent uncapped bottles | Cap-present sensing, bottle spacing, feeder low-level conditions, transfer timing and reject confirmation. | That an operator will always detect and remove the fault downstream. |
Stop and obtain competent engineering support where faults involve guarding, safety functions, damaged machinery, electrical systems or an uncontrolled release of product. Do not bypass interlocks or continue production solely to reproduce a fault.
Intermittent faults are easier to diagnose when the packaging batch, machine state, time and producing station remain traceable.
A delayed fault can be linked to component warming, gradual cap accumulation, changing bottle supply, tool wear, product residue or a feeder condition that develops only during sustained operation. A brief start-up check may therefore miss the state that creates the fault.
Record elapsed run time, line speed, cap hopper level, ambient or product condition and the location of each fault. Compare samples before and after the change appears. Avoid changing several settings at once, because that removes the evidence needed to identify the actual cause.
Trace whether the defect follows a particular bottle or closure batch, capping head, lane, feeder position, setting or time period. A controlled substitution using approved components can help, but only when sample identity and machine conditions are recorded.
Inspect neck finish, thread, liner, cap ovality and visible damage before adjusting the machine. Then compare the same component set across heads or repeat the same head with a known approved set. This structured approach is stronger than increasing force until the symptom disappears.
Qualify bottle and cap variation →Time-stamped samples connect the physical defect to the machine state, packaging batch, operator action and line event that existed when it was produced. Without that link, a later inspection may show what failed but not why the failure occurred.
Retain the failed pack, a nearby accepted pack and the relevant cap or bottle batch reference. Note the capping head where available, line speed, alarm, recent adjustment and whether the pack passed through downstream equipment. Photographs should show the complete pack and close detail without replacing the physical sample.
First contain affected product, then confirm the defect and sample identity, inspect the bottle and closure, review presentation and support, and only then change a controlled machine setting. This order prevents a packaging mismatch or cross-threaded cap from being hidden by additional force.
Make one justified change at a time and repeat the agreed check. Stop and escalate when the fault damages packaging, defeats guarding, requires abnormal force or cannot be controlled by the approved method. Record the final cause and restored settings so the learning survives the shift.
Provide accepted and rejected packs, component batch information, photographs, settings and the point in the run where the problem appeared for a more useful technical review.
Request capping adviceA cross-threaded cap has engaged the wrong thread path; a stripped thread has been damaged so it cannot hold correctly. A cross-thread can lead to stripping if tightening continues, but damaged components, overloading or material condition can also strip an apparently square cap.
Investigate stripped threads →The cap may be rotating on damaged threads, the bottle may be turning with the capping head, or the chuck or spindle wheels may be slipping. Mark the cap and bottle, inspect relative movement safely and retain the failed components before changing the setting.
Premature breakage can come from cap damage, component mismatch, neck-bead interference, a tilted cap, excessive loading or variation between batches. Compare unused closures and bottle finishes from the same lots and involve the component suppliers where drawings or tolerances are unclear.
Review banded-cap application →Stop when the pack cannot meet its agreed seal, tamper, opening or safety requirement, or when continued adjustment is damaging components. Involve the bottle or closure supplier when incoming damage, dimensions, material behaviour or pack compatibility cannot be confirmed from controlled samples.